🏞 Images
326
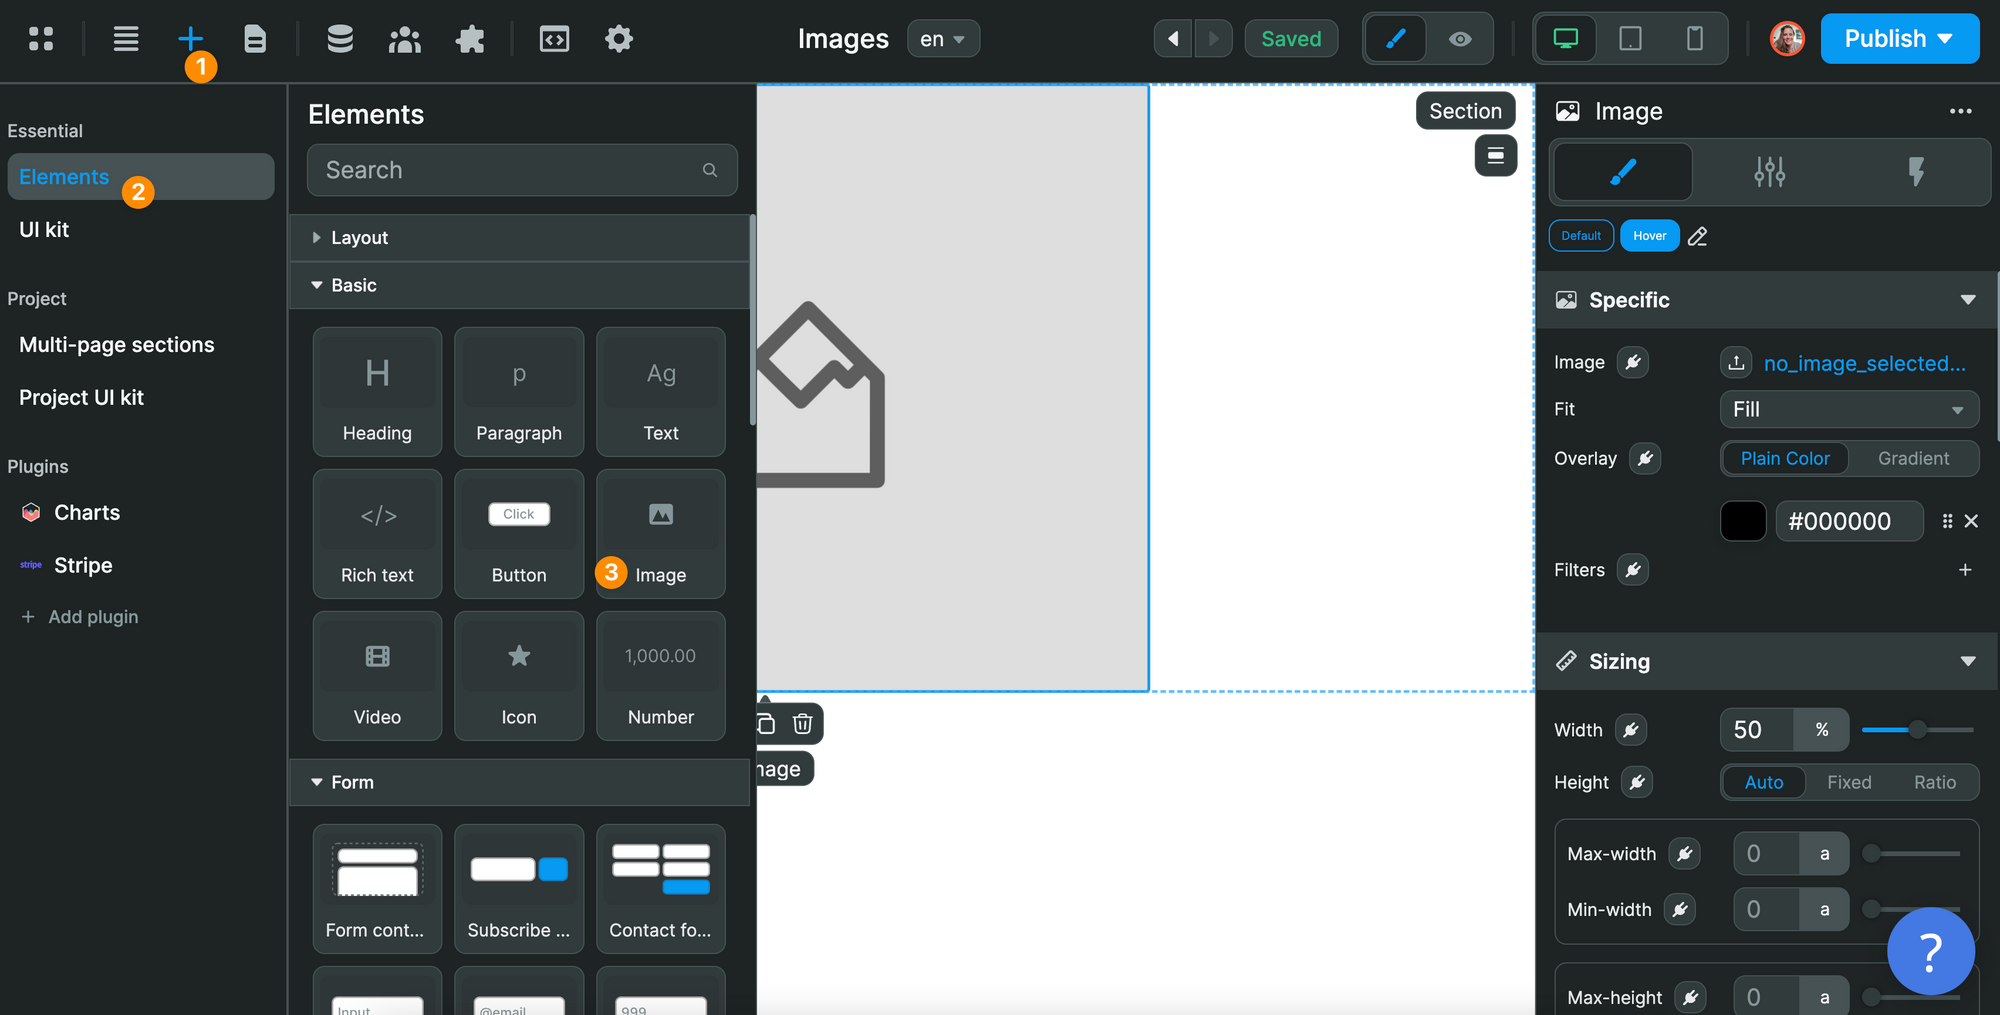
You can find the Image Element in the Add > Elements menu:
Upload & display an image
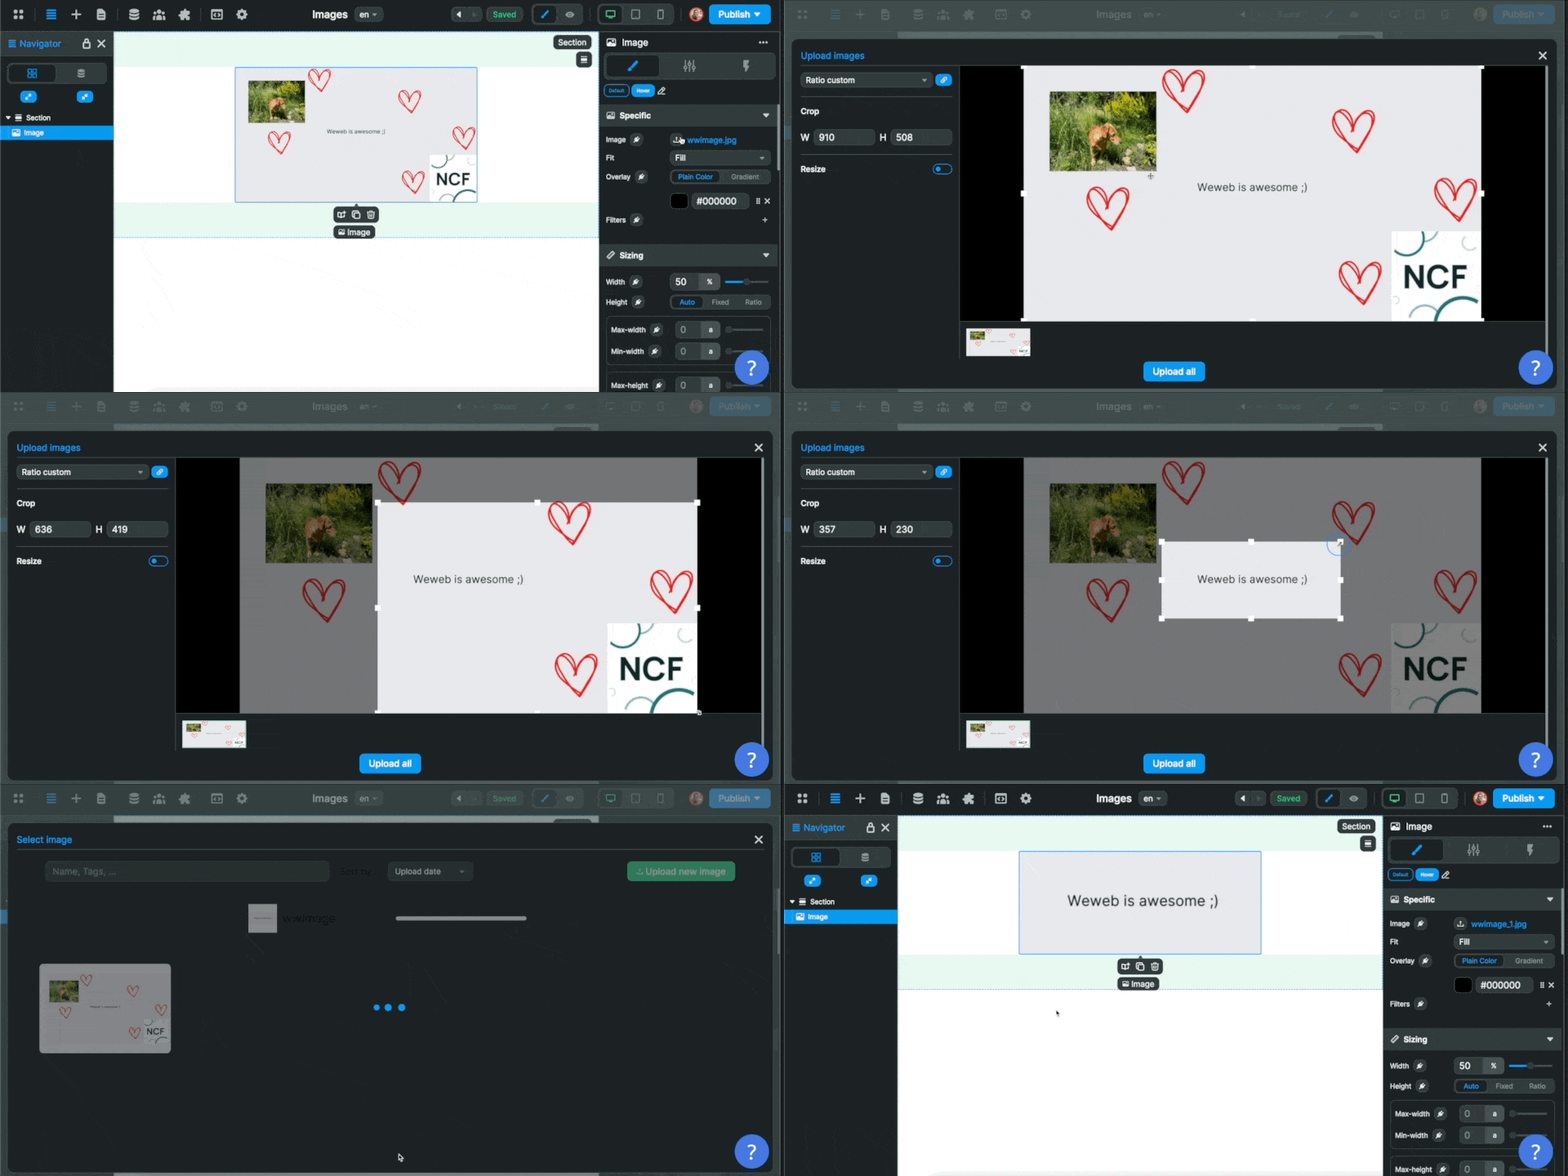
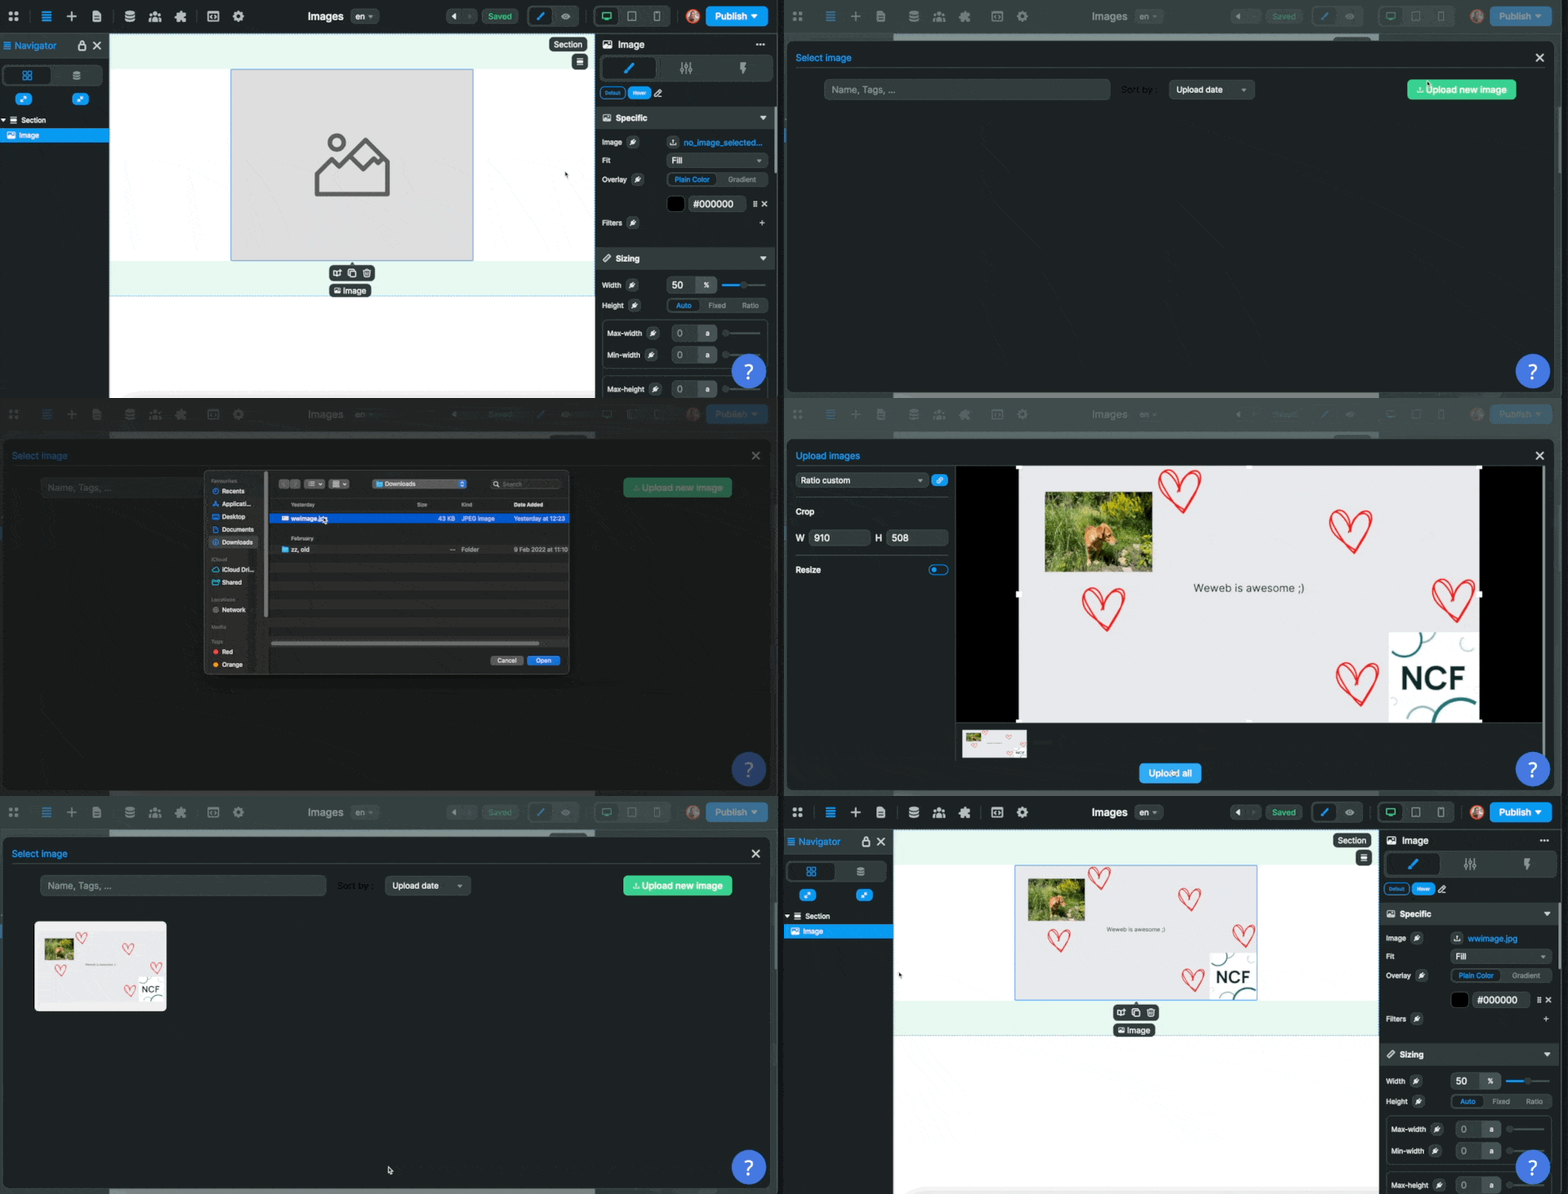
To upload and display an image on the page, you'll need to add the Image Element to the Canvas, upload the image to your WeWeb assets, and select the image you want to display on the page:
Display an external image
In WeWeb, you can also display images that are in an external database or anywhere on the internet really.
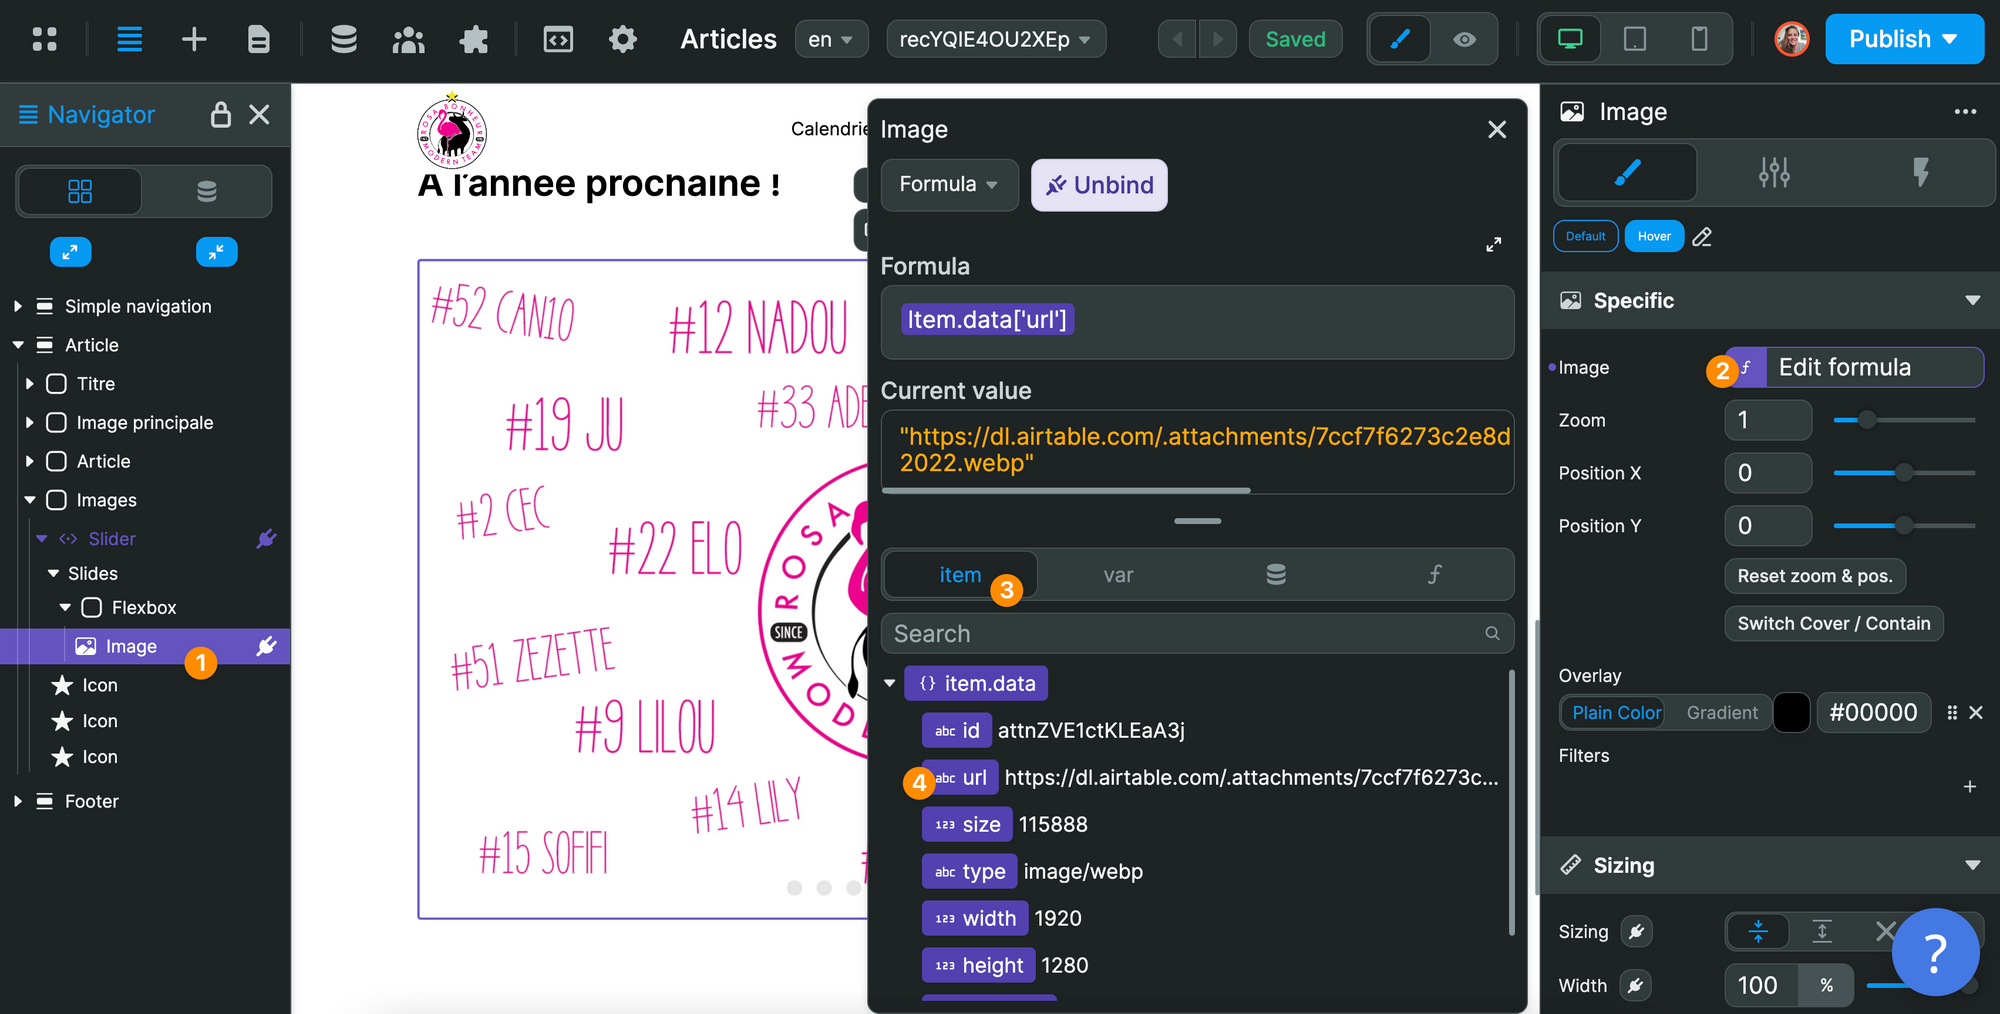
In order to do that, you'll need to pass a URL string to the Image property in the Image Element.
In the example below, we bound the URL of an image attachment in our Airtable database:
🚨 Warning 🚨
We are working on accepting other formats for images but, for now, the Image style property of the Image Element expects a URL. When you upload an image to WeWeb, we handle this automatically for you but if you want to display an external image, you'll need to provide a URL for now.Image basic settings
Once you have selected an image to display on the page, you may want to style it.
Some common settings include, but are not limited to:
- changing the ratio of the image to square or 16:9,
- having more rounded edges with corner radius,
- adding a border or background color.
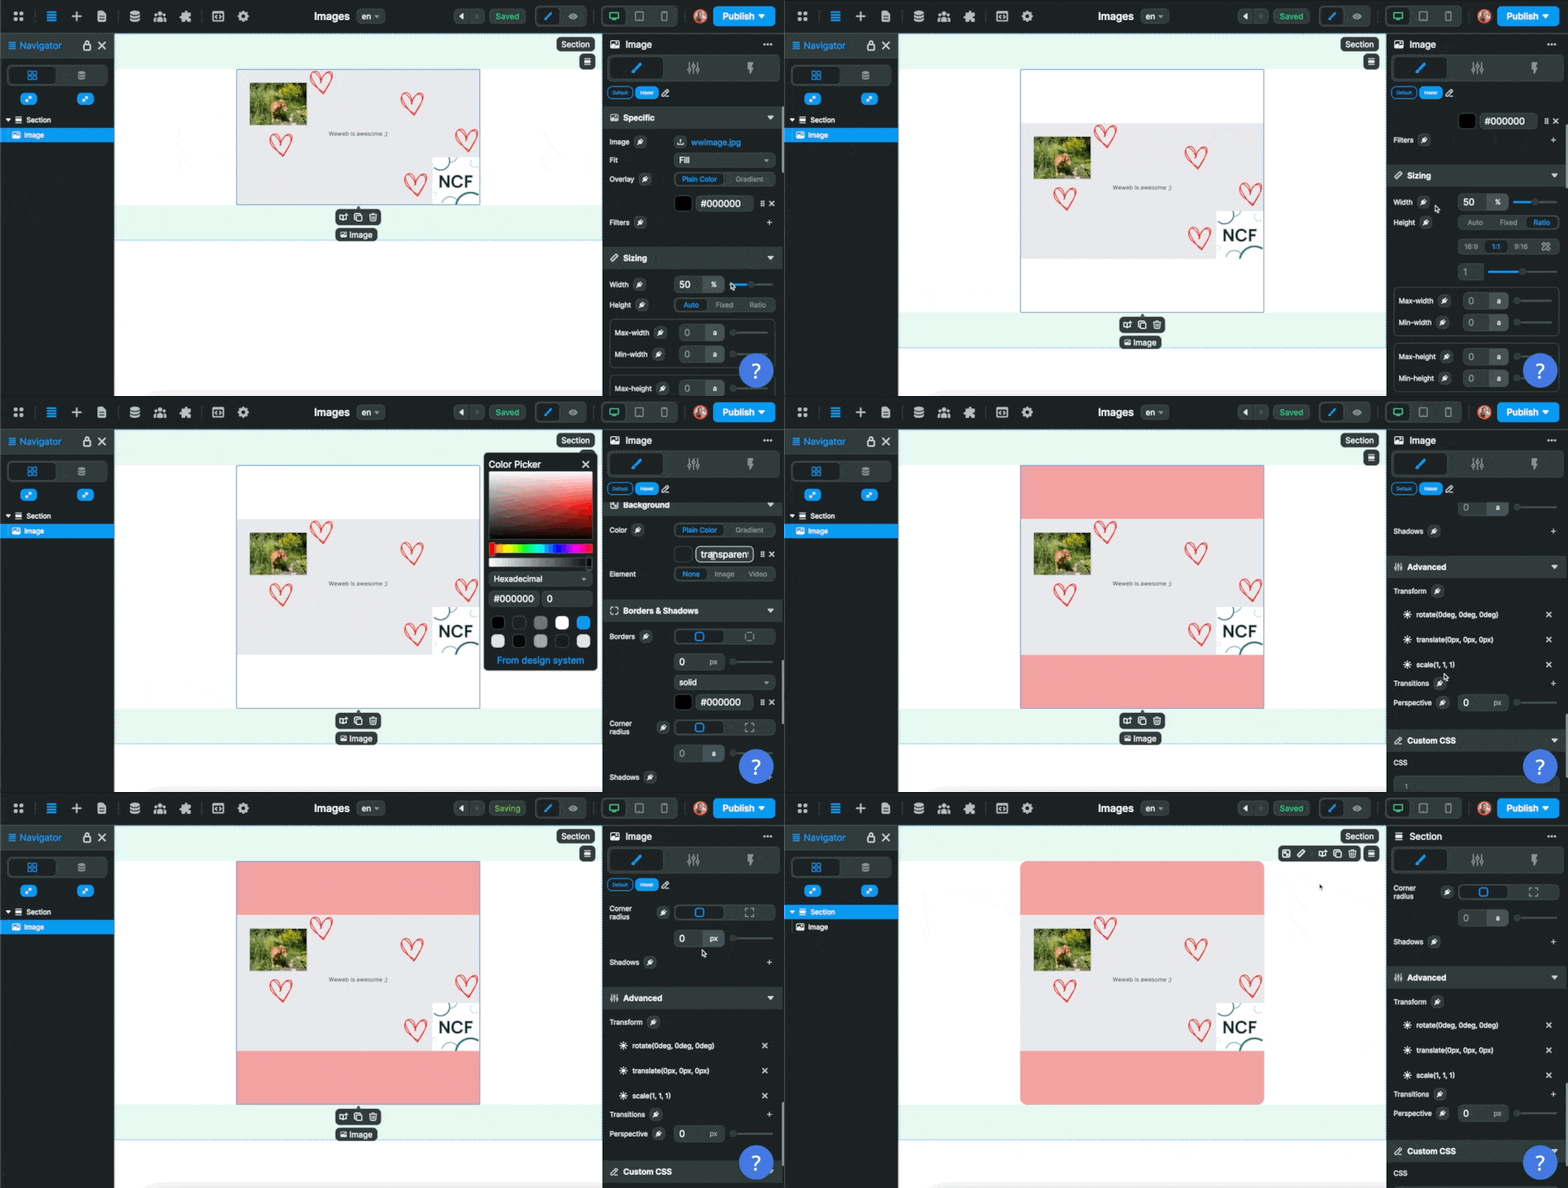
Image best practices
When you add images to your web projects, it is important to take a couple of things into consideration.
Accessibility
One, you want to make your images accessible. In order to do this, you'll want to add an alt text to all your images:
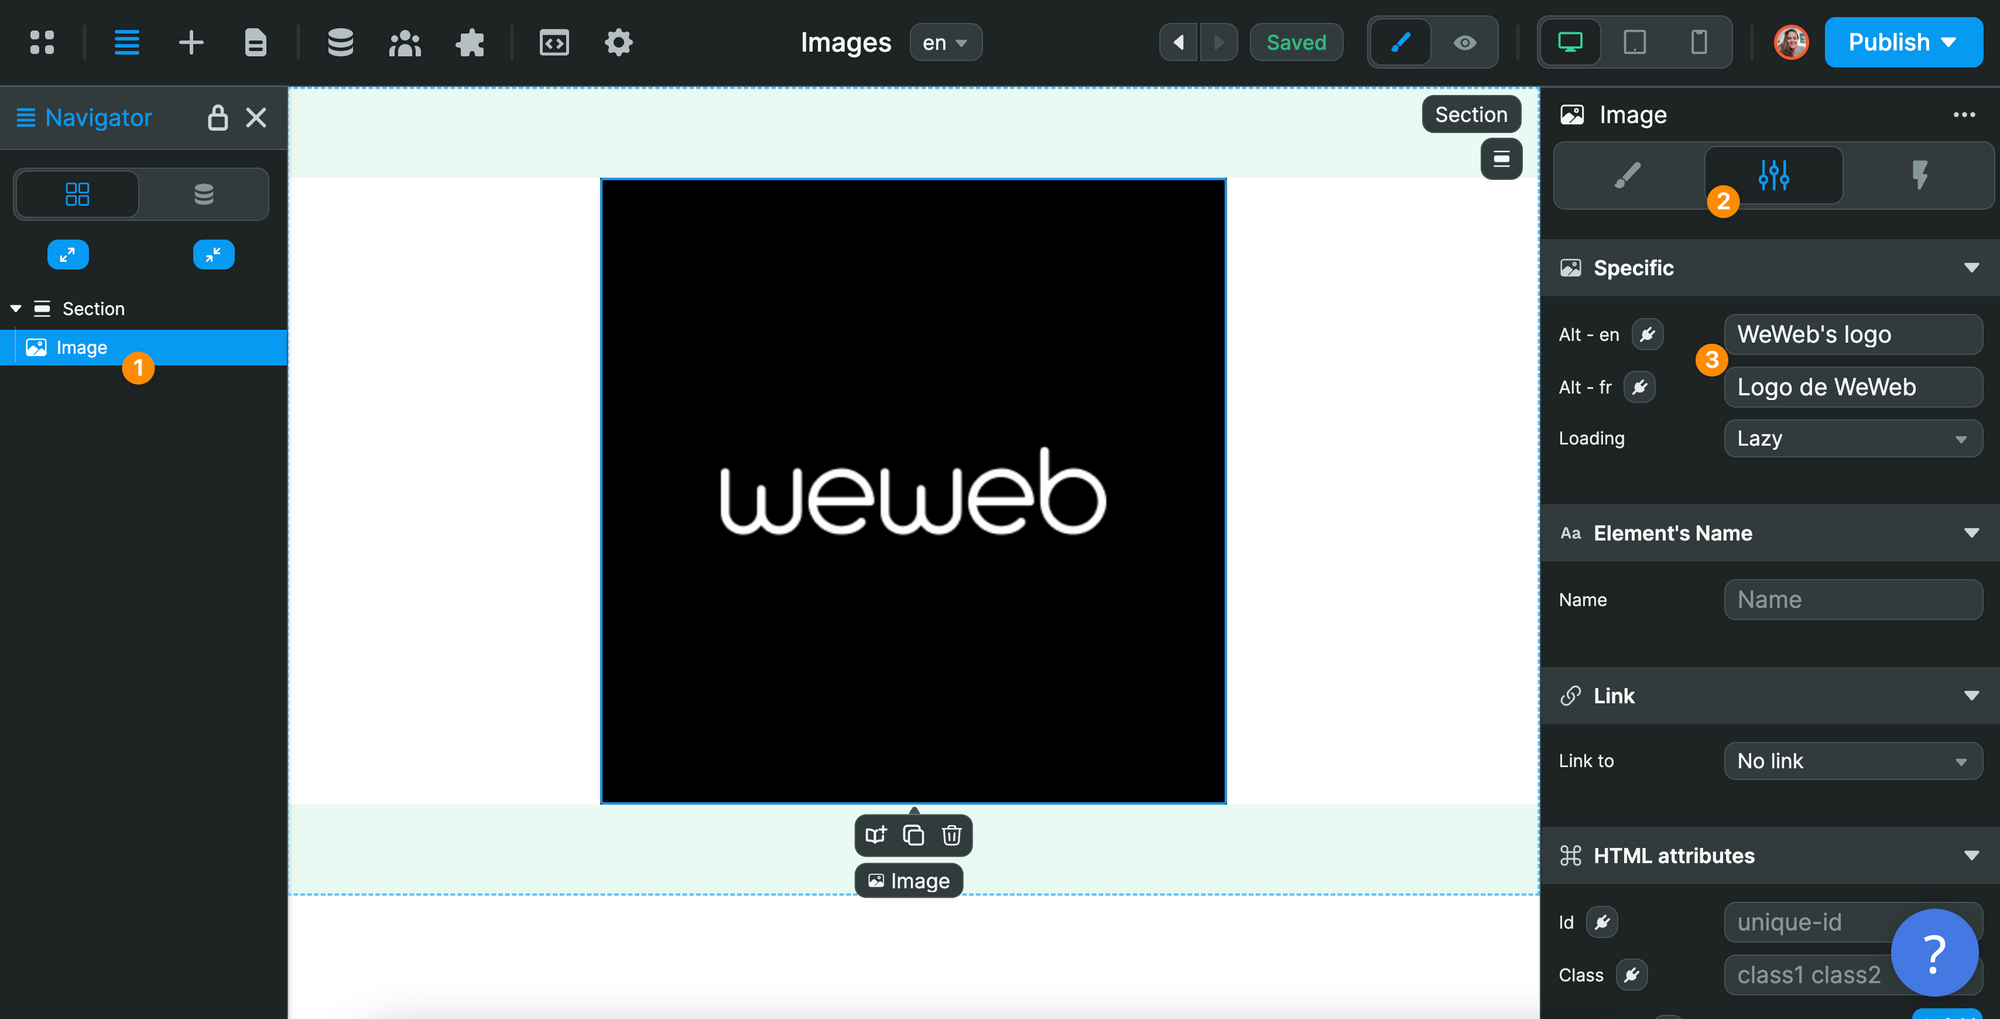
Alt text stands for alternative text. An alt text is a short description of your image. It enables screen readers to "read the information about on-page images for the benefit of a person with complete lack of sight, visually impaired, or who is otherwise unable to view the images on the page."
Size
Images are data. The more data you load in a web browser, the slower it will take for the browser to load the page. If you load too much data, the browser may even crash.
This is why you should always try to use lighter image formats when possible. MDN provides a good guide to choose the best image file type depending on your use case.
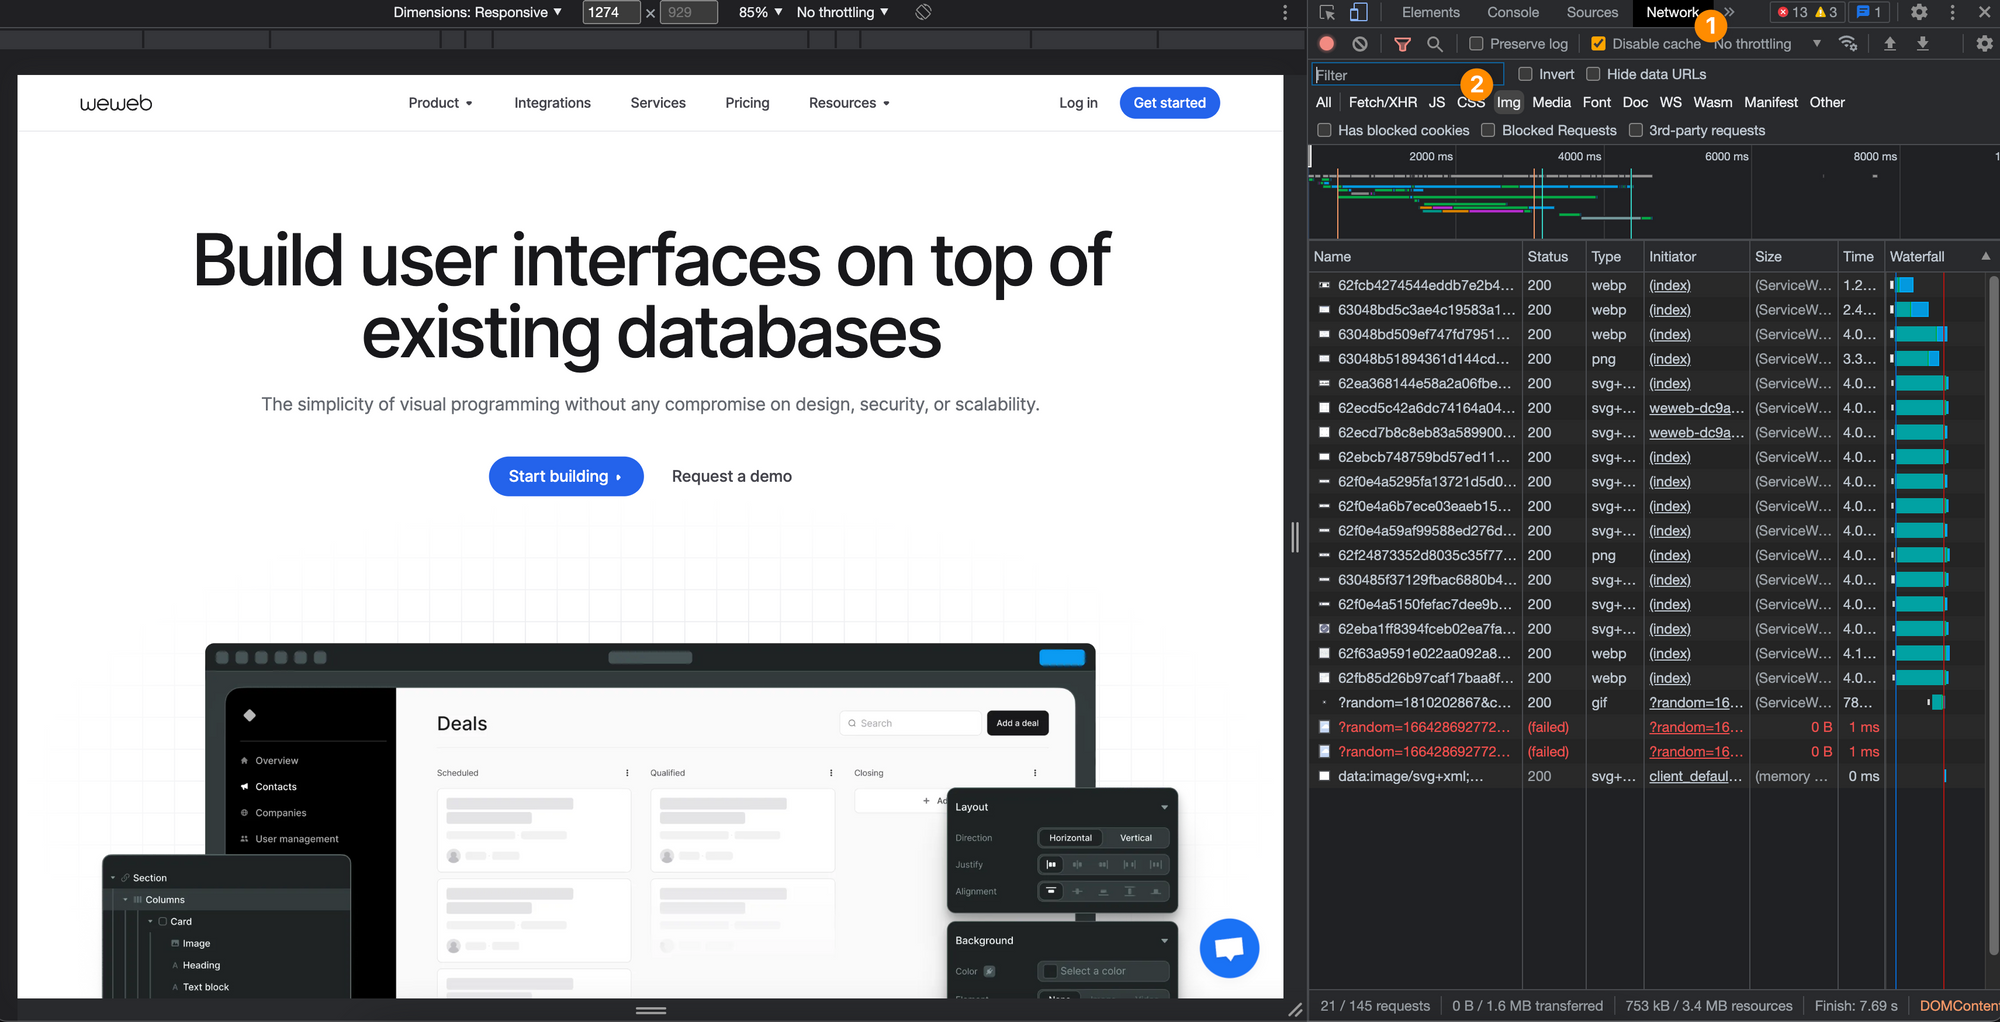
To see how much image data you're loading on a page, you can open your browser inspector, got to Network and select Img:
Loading
Another question to ask yourself when working with images: when do you want the image to be loaded?
By default, when a user lands on a page, their browser will download a bunch of information before it displays the information on the page.
Ideally, you want the info in the first section of the page to be displayed super fast so that the user doesn't have to wait.
In order to do that, it can help to load images that are further down the page after the first section of the page is displayed.
This is called "lazy loading", in contrast to "eager loading":
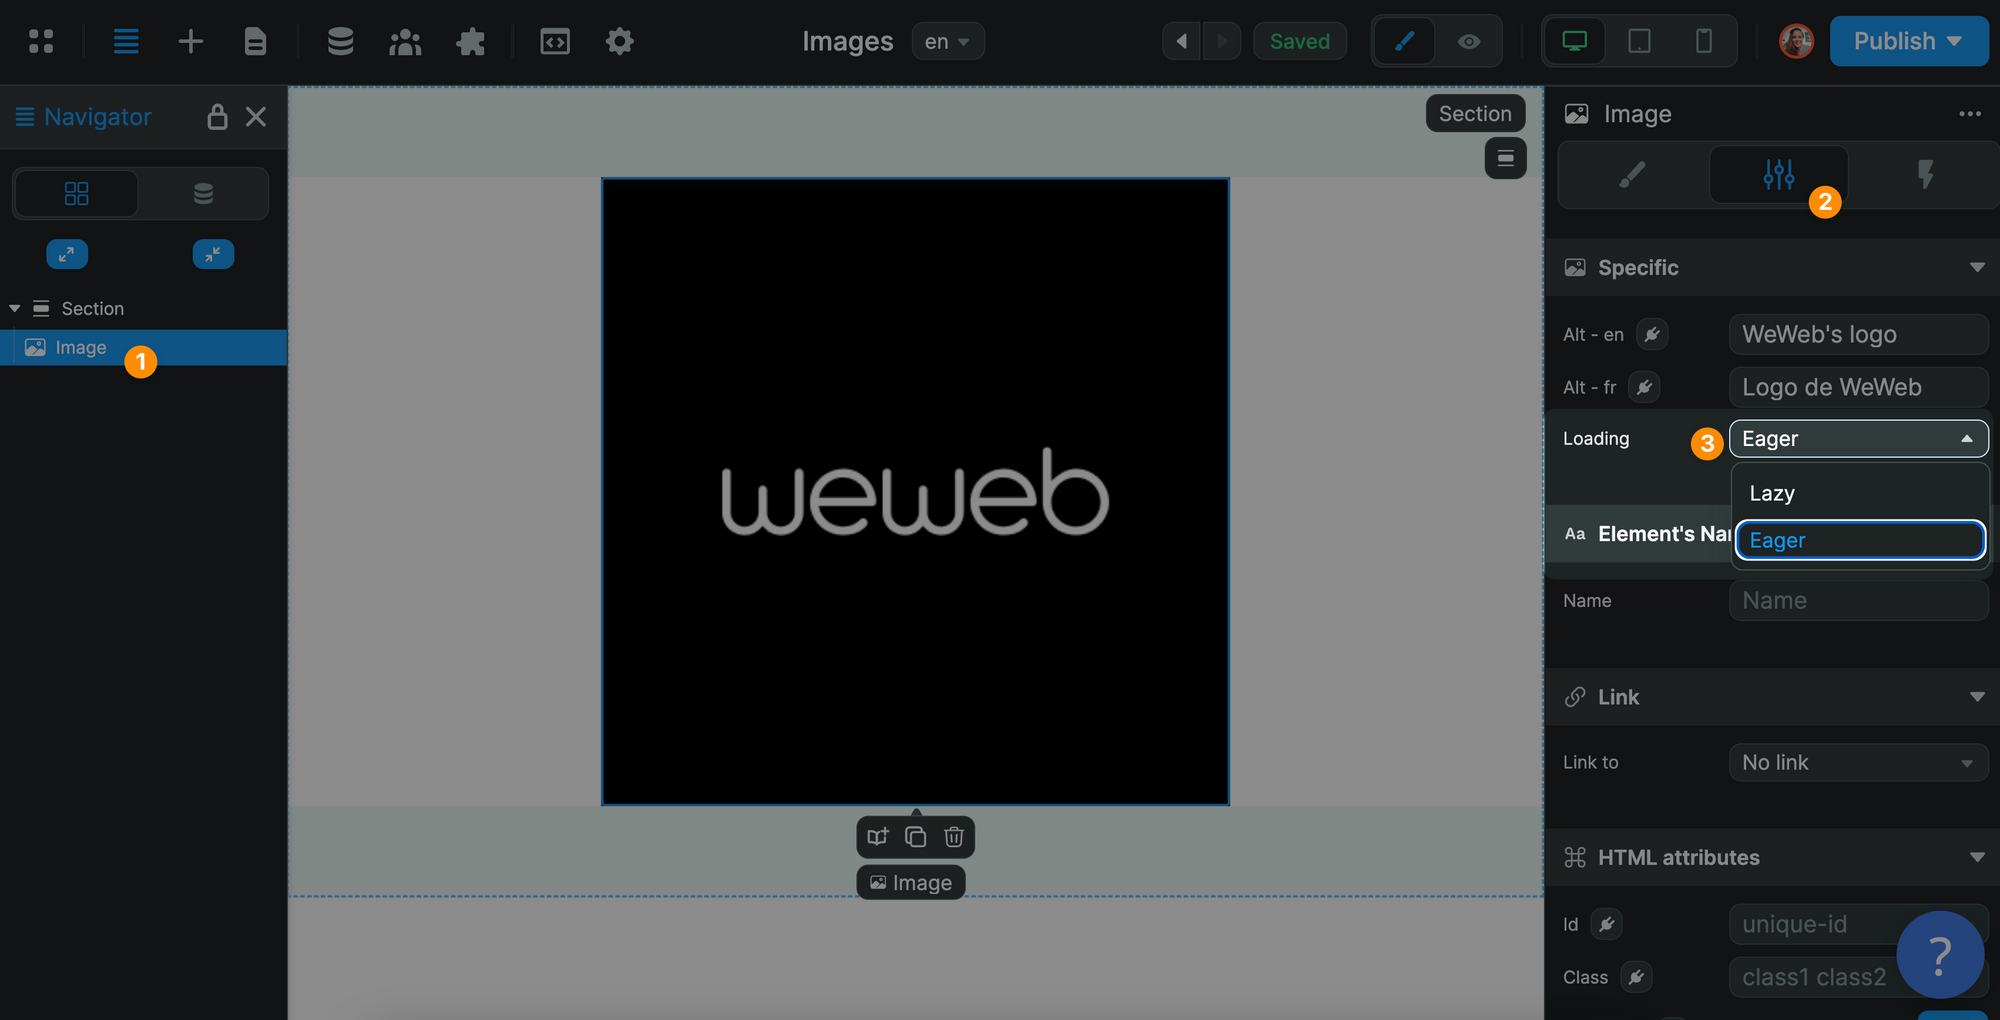
In the example above, you can see that we chose to "eager load" the WeWeb logo because it's the first thing on the page.
That means the browser will load the image as soon as possible.
Crop & resize images
For design or performance purposes, you can resize the images you upload or have uploaded in the past.
If you resize an image before you upload it, WeWeb will save only the cropped image.
If you resize an image that you have already uploaded to WeWeb, we will save the cropped image in addition to the original.
This is what we did here:
